
Back in March, I made a moving whale card (see the original here), and I got a bunch of requests to post the directions. Life got busy, and I don't like making the same card twice...But I finally got around to making another moving whale card this week! I was inspired by the Muse Challenge #74:

Like the inspiration card, my card is full of sun, surf, and sea!

Here's the inside of my card:

And the matching envelope.

And finally, now for the directions!

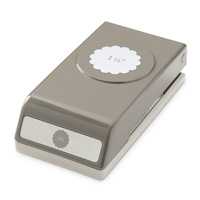
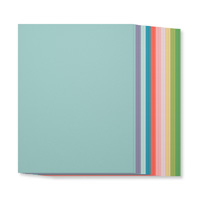
Here are the basic supplies you need, a sliver of window sheet, a brad, a scallop circle punch (I used the 1 1/4 inch one here) The Happy Whale framelits (on the clearance rack, click here to get them while you can), and waves (I was lazy and used diecut waves, but last time I used an oval punch and the simply scored borders plate to create waves. You could also use the Large Scallop Edgelits Die) .
My card base was the standard, 4 1/4 by 5 1/2 inch. and the top white layer was 3 3/4 by 5 inches
Start by making a small hole in the center of your scallop circle.

Center your layer of white cardstock on your base (do not adhere yet!!). Then line up the bottom of the scallop circle with the base of your card, center it (I used a ruler by you could eyeball it too) and put your pencil through the hole of your scallop circle and make a mark on your layer. Separate all the pieces and make a hole in your layer of cardstock at the pencil mark.
If you want to emboss your layer with the cloudy day embossing folder, do it NOW. I completely forgot about this step until it was too late.

Put your brad through the back of your white layer (hopefully you embossed it!), then place the scallop circle on top, place your window sheet on top of that, and then the whale. Move the whale around to determine how long your sliver of window sheet should be to get the range of motion your want from the whale. Cut the window sheet to the desired length (I think mine was 1/4 inch by 2 1/4 inches).

Glue the window sheet to your scallop circle and then carefully to the back of the whale. Wait for it to dry.

Now, begin assembling your card. Glue one layer of waves on (put all your waves on to determine where this should go). Then push your brad through the back of your layer, place the scallop circle (with the window sheet) on top, secure your brad. Turn your whale all the way to the left most side of the card, and then place dimensionals there such that they do not interfere with the whales motion.

Next, move the whale all the way to the right side, and place more dimensionals down. Place the rest of your waves on top of the these dimensionals. Do NOT put dimensionals anywhere else, or your whale will get stuck!

Finally, assemble the rest of your card and embellish as desired. I made the sun with the boho blossoms punch and a 1/2 inch circle punch. Since I forgot to emboss my layer, I glued die cut clouds down instead of the embossing (you could use a cupcake punch to get similar results).
Thanks for visiting. Hope my directions were clear. Let me know if you have any questions!
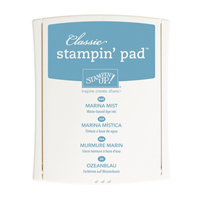
Stampin' Up! Products Used on this card. (Click on the images below for more product details and to shop online.)


4 comments :
LOVE the interactivity of this card! What a great idea! I also love how you've expanded the scene from the Muse! So glad you joined us this week!
What a great idea, and what a cute baby card. TFS !!!
this is just adorable! but what did you use to cut out the waves? tfs!
I used a mft die for the waves.
Post a Comment